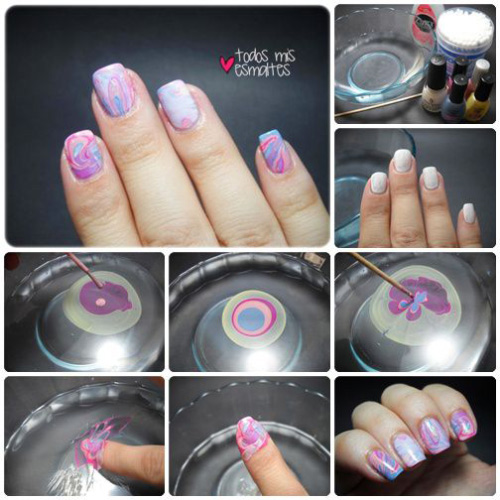
How To Do Water Marble Nails Step By Step For Beginners - Spin a toothpick in the water and the nail polish will move to the edge of the cup, leaving you space to start on your next design.
How To Do Water Marble Nails Step By Step For Beginners - Spin a toothpick in the water and the nail polish will move to the edge of the cup, leaving you space to start on your next design.. While you can always go to the salon to get intricate nail art done, you can also create designs yourself at home! Take the plastic wrap and wad it into a ball. Apply a base coat to your nails to enhance the color intensity and to help the polish colors stick to your nail surface easily.it also gives your nails a clear visible water marble effect and makes your nail colors look more vibrant and brighter.you can use a white base coat or any other color of your choice. If there are still flecks of color on the water surface, add another drop of polish. Take a bowl or a glass full of water and leave to the room temperature for 20 mins step 3:
Cut them up into pieces so that they fit your nail. Then gently press and roll the wrap onto nails, creating a textured finish. How to do water marble designs from start to finis. Add the nail varnish to the cup. Don't fret too much about this.
Apply a base coat to your nails to enhance the color intensity and to help the polish colors stick to your nail surface easily.it also gives your nails a clear visible water marble effect and makes your nail colors look more vibrant and brighter.you can use a white base coat or any other color of your choice.
First of all, put your base transparent coat on the nail. Beauti water marble nail art how to water marble your nails step by step tips for beginners! Then cover it with one or two layers of a white polish, as you like. Spin a toothpick in the water and the nail polish will move to the edge of the cup, leaving you space to start on your next design. Beauti water marble nail art how to water marble your nails step by step tips for beginners! Use enigma as your base color. Don't fret too much about this. Choose either white or black polish when trying the trend for the first time. Gently tap the handle of the brush until the varnish drips into the water. Place a drop of the grey nail polish, a white polish, and a charcoal grey down on a piece of a paper. Holding it close to the water surface, allow a drip to fall onto the water. Try creative water marble nail designs. By tia teilli thursday, february 23, 2017.
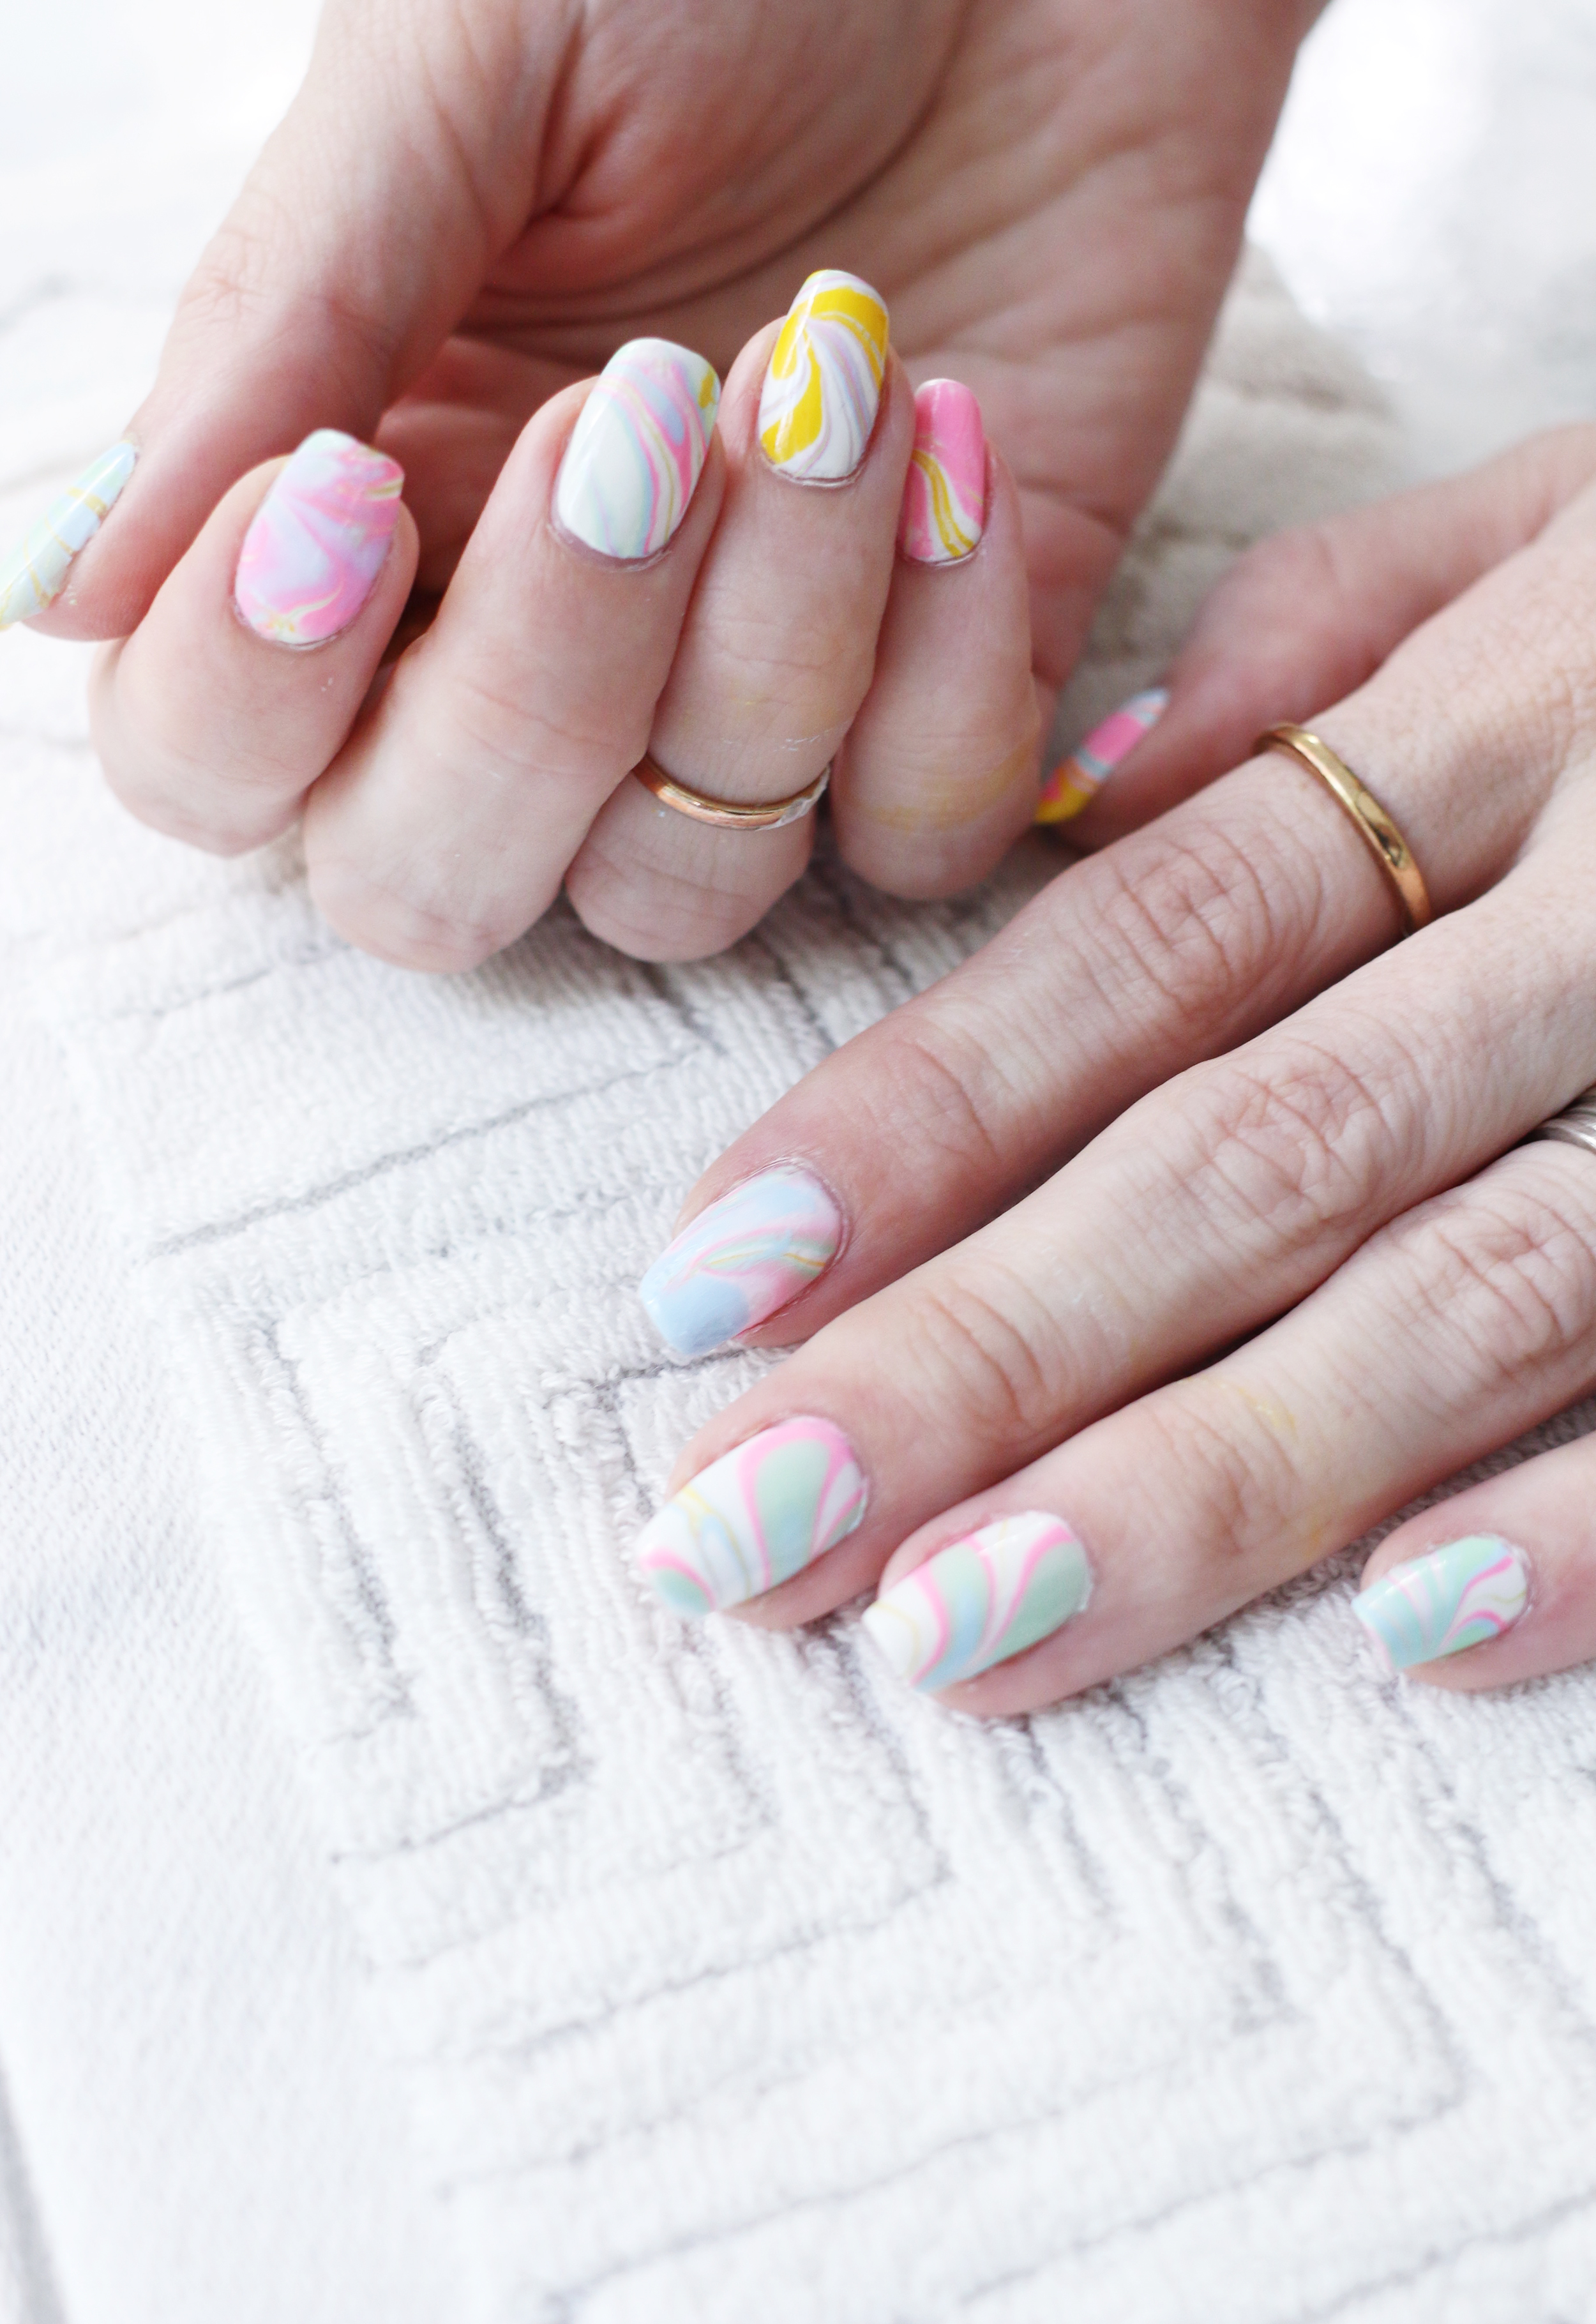
Take a sponge, paint with sky blue and then dab the nail polish in the end tip of the fingers. Apply one coat of natural base coat to each nail. This water marble nail design requires a specific nail art technique, in which you'll apply drops of nail polish into water to create a beautiful swirl of color on the surface that will then be transferred onto your nails. Use a toothpick and create lines in the pattern from the outside to the inside. The technique of water marble nails art involve dropping nail polishes onto the surface of clear water.
It is time to give your nails a spring update!
This step is one of the most important. First of all, put your base transparent coat on the nail. 20+ easy and fun step by step nail art tutorials. 7 years ago | 2.4k views. Then add drop of nail polish in a cup and spray it with your hairspray. Hold it 1 cm above the centre of the waters edge. In this video, i'm explaining how to achieve this look step by step. Beauti water marble nail art how to water marble your nails step by step tips for beginners! For the beachy water look, create an ombre effect in the white with blue. Spin a toothpick in the water and the nail polish will move to the edge of the cup, leaving you space to start on your next design. On a clean nail plate, apply your base coat. Start the nail design by applying a base coat to protect the nails; Wrinkle and wrap a piece of plastic wrap around your index finger.
The design should be completely adhered to the nail. If you tried it before and it just didn't work out or your new to water marble, this is the video for you! First of all, put your base transparent coat on the nail. Choose either white or black polish when trying the trend for the first time. 20+ easy and fun step by step nail art tutorials.

Here are steps to get stone marble.
Exklusive vorteile, tolle geschenke & top angebote! Here are steps to get stone marble. Water marble nail art step by step using nails polish / cnd lacquer by natasha lee | how to product watermarbling nail artnew improved video tutorial availab. Take some foil (or whatever you have decided to use as your palette), put black and white acrylic paints on it and drip some water. We are not gonna lie, this is not the easiest and the tidiest way to paint your nails, but the result you can achieve is quite amazing! And dab each color at the same time with a little ball of plastic wrap. Apply a base coat to your nails to enhance the color intensity and to help the polish colors stick to your nail surface easily.it also gives your nails a clear visible water marble effect and makes your nail colors look more vibrant and brighter.you can use a white base coat or any other color of your choice. Then add drop of nail polish in a cup and spray it with your hairspray. In this video, i'm explaining how to achieve this look step by step. 4 years ago | 0 view. Wait for it to completely dry and place it on a paper towel. Holding it close to the water surface, allow a drip to fall onto the water. Add the nail varnish to the cup.
Here are steps to get stone marble how to do water marble nails. Water marble nail art for beginners: